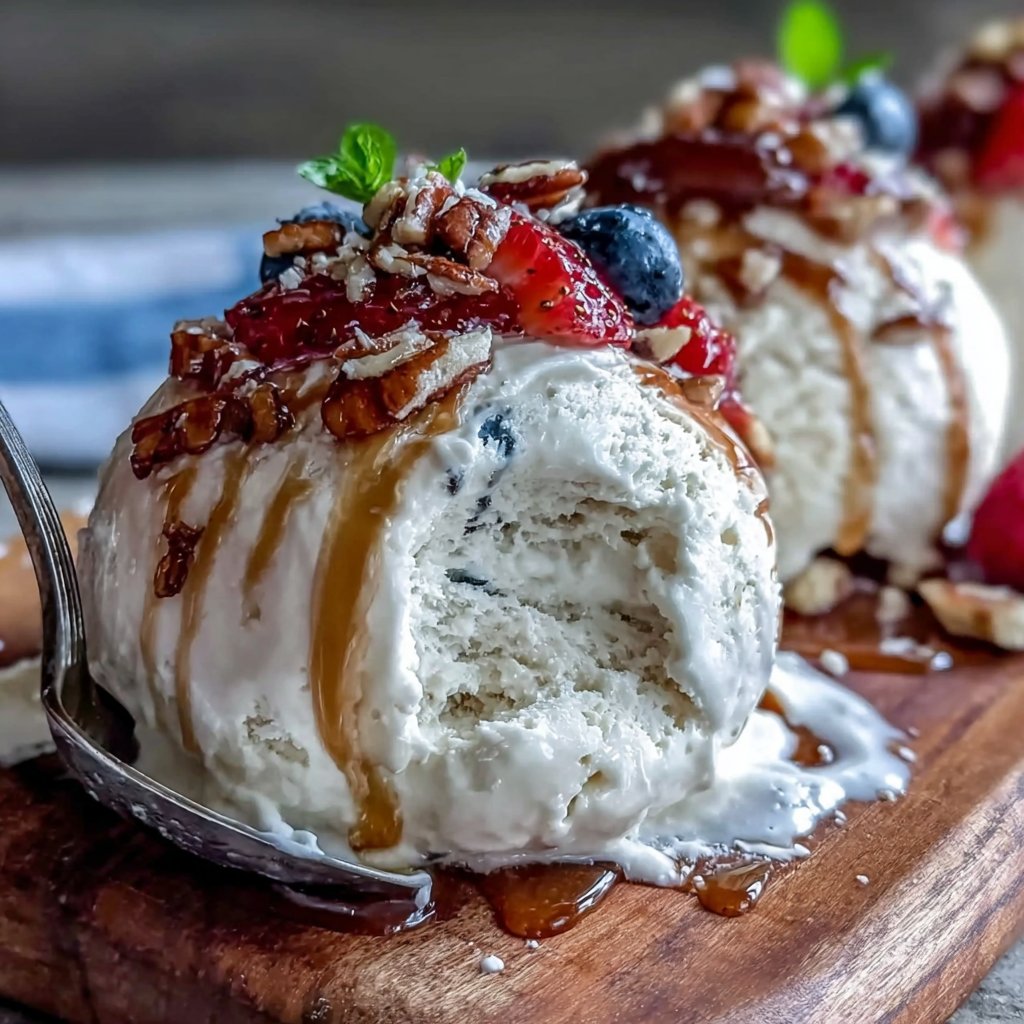
Greek Yogurt Ice Cream
Highlighted under: Indulgent Dessert Recipes
I absolutely love making Greek yogurt ice cream at home, especially during the warm months. It's a delightful treat that allows me to enjoy creamy, rich flavors while keeping the guilt at bay. Using Greek yogurt not only gives it a tangy kick, but it also packs in so much protein compared to traditional ice creams. Plus, I can customize it with my favorite fruits and add-ins, creating something truly unique every time. It's quick to whip up and even quicker to disappear!
When I first tried Greek yogurt ice cream, I was amazed by how a simple ingredient can create such a luscious dessert. I decided to experiment by mixing different flavors and fruits, and that's when I discovered that ripe bananas work wonders. They naturally sweeten the mixture, so I often forgo added sugars. It makes for a velvety smooth texture that feels indulgent yet healthy!
One tip I've learned is to chill your mixture for about an hour before churning it in the ice cream maker. This step really elevates the creaminess and helps it set better. Each time I serve this homemade treat, it garners rave reviews. I can't wait for you to try it!
Why You'll Love This Recipe
- Tangy and creamy with a rich texture
- Easy to customize with your favorite fruit
- Healthier alternative to traditional ice cream
The Role of Greek Yogurt
Greek yogurt is a fantastic base for ice cream because it provides a creamy texture while also being lower in sugar and higher in protein than traditional ice cream bases. The tanginess of the yogurt adds complexity to the flavor profile, making every bite delightful. When selecting your yogurt, opt for full-fat varieties for a richer mouthfeel, or go with low-fat if you’re aiming for a lighter treat. It’s crucial that you use plain or lightly flavored yogurt to keep the balance in your ice cream, allowing the other flavors to shine through.
If you're feeling adventurous, consider using flavored Greek yogurt as your base. This could save you time on sweetening and flavoring, but it's essential to adjust the sweetness of the recipe accordingly. For instance, if you choose a sweetened yogurt, you might want to decrease or eliminate the honey or maple syrup. Always taste your mixture before churning to ensure the sweetness and flavors are just right!
Mastering the Churning Process
Churning your Greek yogurt mixture is a vital step in achieving that creamy, ice cream-like consistency. If you don't have an ice cream maker, you can still enjoy homemade ice cream by mixing the base by hand every 30 minutes for about 2-3 hours while it's freezing. This process incorporates air into the mixture, preventing large ice crystals from forming, which would make the final product icy instead of creamy.
When churning in your ice cream maker, keep a close eye on the consistency. It should be smooth and slightly thicker than the original mixture. Typically, this takes about 20-30 minutes. If you find the mixture is not reaching that soft-serve texture, it could indicate that the mixture wasn't chilled enough before pouring it into the machine. Always ensure your mixture is thoroughly chilled for best results!
Ingredients
To prepare this Greek yogurt ice cream, gather the following ingredients:
Ingredients
- 2 cups Greek yogurt (plain or flavored)
- 1 ripe banana, mashed
- 1 tablespoon honey or maple syrup (optional)
- 1 teaspoon vanilla extract
- Pinch of salt
Enjoy this refreshing treat on a hot day!
Instructions
Follow these simple steps to create your own Greek yogurt ice cream:
Prepare the Mixture
In a mixing bowl, combine the Greek yogurt, mashed banana, honey or maple syrup if using, vanilla extract, and a pinch of salt. Stir until well blended.
Chill the Mixture
Cover the bowl and place the mixture in the refrigerator for about 1 hour. This chilling step helps enhance the flavor and creaminess.
Churn in Ice Cream Maker
Once chilled, pour the mixture into your ice cream maker and churn according to the manufacturer's instructions until it reaches a soft-serve consistency.
Freeze and Serve
Transfer the soft ice cream to an airtight container and freeze for at least 2 hours to firm up. Serve in bowls and enjoy!
Make sure to store any leftovers in the freezer!
Pro Tips
- Feel free to mix in your favorite add-ins like chocolate chips or fruit pieces to enhance flavors even further.
Flavor Combinations
One of the best aspects of making Greek yogurt ice cream is the endless possibilities for flavor combinations. For a fruity twist, try folding in chopped strawberries, blueberries, or diced mango into the mixture before churning. The fruit should be fresh or slightly frozen to help maintain the right consistency, but avoid adding too much moisture at this stage as it may dilute the base.
Additionally, you can incorporate mix-ins like chopped nuts, chocolate chips, or even drizzles of nut butter right after churning. This technique allows for a delightful texture contrast as you enjoy your ice cream. Just remember to be gentle when folding these ingredients into the mixture to keep the air you whipped into the ice cream intact!
Freezing and Storage Tips
After churning, transferring your Greek yogurt ice cream to an airtight container is essential to prevent freezer burn. For best results, use a container that minimizes excess air, as this will keep your ice cream fresher longer. Before sealing the container, you can press a piece of parchment paper on the surface to further prevent ice crystals from forming. The ice cream will typically stay fresh for about a week in the freezer, although it's often best enjoyed within the first few days after making.
To serve, let your ice cream sit at room temperature for about 5-10 minutes before scooping. This makes it easier to serve while maintaining its creamy texture. If you find that your ice cream has hardened too much during storage, simply give it a gentle stir with a spatula to restore some creaminess before serving.
Questions About Recipes
→ Can I use non-dairy yogurt?
Absolutely! Non-dairy yogurt varieties like coconut or almond yogurt work well for a dairy-free option.
→ How long can I store the ice cream?
You can store the Greek yogurt ice cream in the freezer for up to 2 weeks, but it's best enjoyed fresh within the first week.
→ Can I skip the banana?
Yes, you can omit the banana, but you may need to adjust the sweetness by adding more honey or sugar.
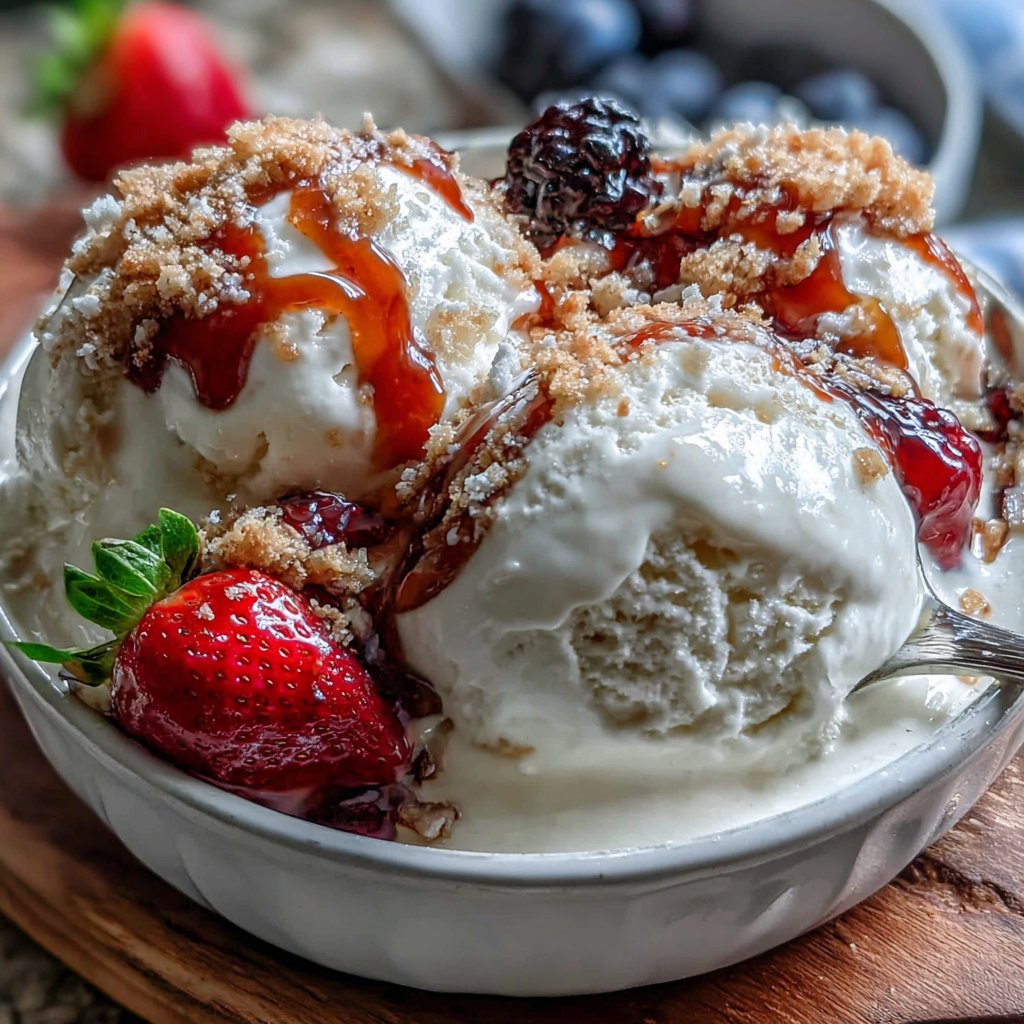
→ What toppings do you recommend?
I love adding fresh fruits, granola, or a drizzle of chocolate sauce on top for an extra touch.
Greek Yogurt Ice Cream
Created by: The Nestflavory Team
Recipe Type: Indulgent Dessert Recipes
Skill Level: Easy
Final Quantity: 4 servings
What You'll Need
Ingredients
- 2 cups Greek yogurt (plain or flavored)
- 1 ripe banana, mashed
- 1 tablespoon honey or maple syrup (optional)
- 1 teaspoon vanilla extract
- Pinch of salt
How-To Steps
In a mixing bowl, combine the Greek yogurt, mashed banana, honey or maple syrup if using, vanilla extract, and a pinch of salt. Stir until well blended.
Cover the bowl and place the mixture in the refrigerator for about 1 hour. This chilling step helps enhance the flavor and creaminess.
Once chilled, pour the mixture into your ice cream maker and churn according to the manufacturer's instructions until it reaches a soft-serve consistency.
Transfer the soft ice cream to an airtight container and freeze for at least 2 hours to firm up. Serve in bowls and enjoy!
Extra Tips
- Feel free to mix in your favorite add-ins like chocolate chips or fruit pieces to enhance flavors even further.
Nutritional Breakdown (Per Serving)
- Calories: 150 kcal
- Total Fat: 4g
- Saturated Fat: 1g
- Cholesterol: 10mg
- Sodium: 30mg
- Total Carbohydrates: 25g
- Dietary Fiber: 1g
- Sugars: 15g
- Protein: 8g